
HOW TO USE WEAVE EFFECT IN PSP
This Tutorial was written for those that have a working knowledge of PSP.
Please do not copy it in anyway or claim its as your own.
Any resemblance to any other tut is purely coincidental.
This Tutorial was written on April 4th,2018
The tutorial was written and Created by Chiqui
For This Tutorial I used PSP X2
This is other simple effect that add a
beautiful touch to your backgrounds
or phrases for your tag.
In this case I am going to add this effect to my name.
Materials:
Fat font of your choice
I am using Familian Font (free font)
You can download Here
Two colors of your choice.
Let's get started
Open a new raster layer 600 x 600 white background.
Select the colors of your choice

Draw your name.
The size I used was 200 pix.
Layer- Convert to raster layer.
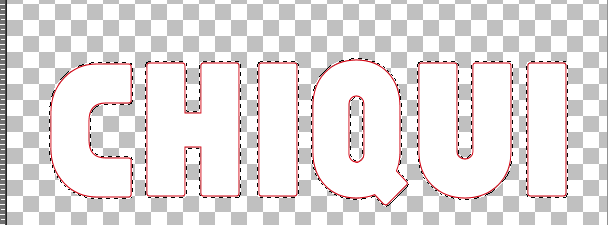
With your magic wand click in
each letter.
I use this settings:

you should have something like this:
Selections - Modify-Contract - 1
Go to Effects - 3D effects
Inner Bevel with this settings:

Keep selected
go to Effect-Texture Effect- Weave

If you move the intersection number you will get a bigger dot.
If you move the width there will be more separation between the dots.
Dots color depends on the color of the intersection.
Play with the opacity until you get the desire effect.
Selections - none
Duplicate your raster layer.
close the eye in the copy
In the original apply:
Selections - all
Selections float
Selections Defloat
Selections modify - Expand by 2
Fill with your background color o white.

Selections none. Now click in your copy and open the eye. merge down
Apply a drop shadow with this settings:

Crop your image
Save as a .PNG
This is my result:


1 comment:
ME ENCANTA ESTE GRACIAS
Post a Comment