PLAYING WITH PRESET SHAPES
This Tutorial was written for those that have a working knowledge of PSP.
Please do not copy it in anyway or claim its as your own.
Any resemblance to any other tut is purely coincidental.
This Tutorial was written on March 26th,2018
The tutorial was written and Created by Chiqui
For This Tutorial I used PSP X2
SUPPLIES
Tubes of choice~I used the fantastic art work of Rosalys is a free tube.
Don't forget use a copyright if you use her tubes
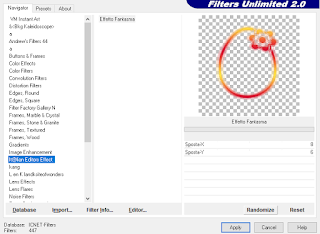
Filter Italian editor Effect phantasm
Font of choice
Drop Shadow usually V2 H2 30 5 black
Mask of your choice
Texture of your choice. you can get some beautiful textures in
Devianart.com
Word Art from Me (right click and save

Let's get started
Open your mask and minimize
Open a new raster layer 800 x 800 white background.
Select 2 colors from your tube and create a gradient
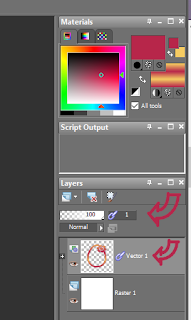
Go to your preset shapes
choose one that you like
and draw in your raster.
Keep this like a vector.
in your palette click in the layer link toggle
This is for link your layers and they move together
Duplicate your vector twice
you should have something like that:
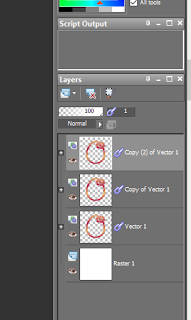
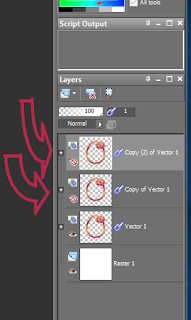
Close the eye in the other copies
your palette should look like this:
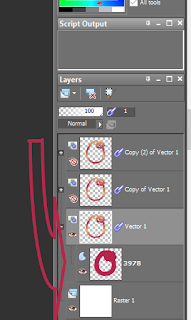
Click on your original raster and rename this : base
Click on the button + in your raster layer
Then you can see other raster below like this:
right click on this layer and you can get a Menu
Click on properties
Here you can change width, color, line.
Deactivate the stroke - ok
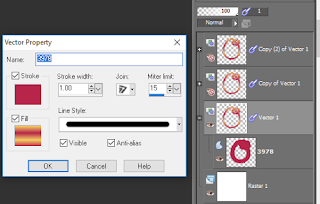
(here appears activate just click and deactivate stroke)
Click in the - sign of the layer and right click
Convert to raster layer.
Now we click in the first copy of our layer.
Click on the button + in this raster layer
right click in the layer below
go to properties
this time we are going to deactivate the fill button
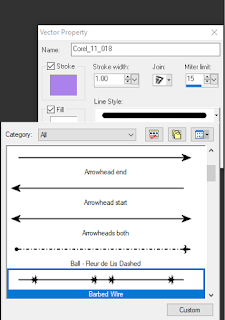
now change the line for one of your choice
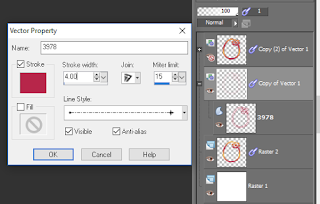
Change the stroke width to 4.
Click in the - sign of the layer and right click
Convert to raster layer.
Now:
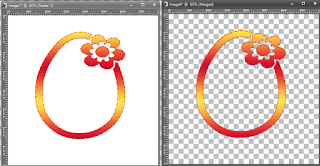
Duplicate all layers (Shift+Ctrl+d)
In this new raster:
delete the white background.
right click - merge visible.
You should have 2 raster like this:
copy your second raster and paste to the
original raster and position above your base raster.
Now in your palette selection a lighter color
in your foreground.
(this is only for apply when you use the filter)
Remember you are in the layer above the base, the one you copy.
Apply the effect Italian Editors - phantasma
with this settings:
back to your base layer
With your magic wand click inside of your shape
Selections-modify-expand by 2
copy and paste your texture
Selections-invert-delete
arrange your texture below the base.
You can use some gradient too for fill the middle of your shape
adding a new raster layer below instead of .
Go to your top layer
Copy and paste your tube
Erase the parts out of your shape
Duplicate the tube
in the copy apply blur - Gaussian blur-10
Change properties to overlay.
Click in your write background
copy and paste a texture of your choice.
or fill a new layer with a gradient.
Layer-new mask layer- from image
Choose the name of your mask - source luminance
then go to
layers-delete-yes, then merge group.
Copy and paste my word art or other of your choice.
and its done!
Time to put your copyright and
the name or phrase that you like .


1 comment:
Thank you for dedicating me this beauty,beautiful work Chiquis
Post a Comment